
Image Formatting
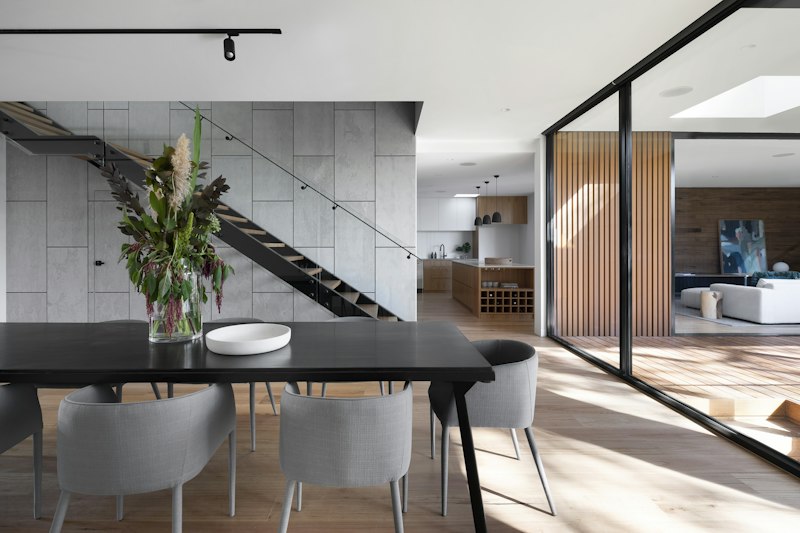
The Image Formatting tab provides a robust suite of tools specifically designed for styling Type Images, Room Renderings, or detail components embedded in your schedule.
Unlike Revit, which severely restricts image scaling and offers zero styling, Vellum utilizes native CSS rendering to give you complete control over how images sit within their cell bounds.
Select an image effect in the interactive frame below to experiment with the tuning sliders. Note the solid boundary representing the rigid schedule cell—any effect or scaling that bleeds past this line is automatically clipped by the cell walls.
Style Editor
Image Fit
Section titled “Image Fit”The Fit row dictates exactly how the image behaves inside the rigid boundaries of the schedule cell.
- Fit Proportionally: The image scales until it fits perfectly inside the cell, preserving its original aspect ratio.
- Fit Stretched: The image ignores its aspect ratio, stretching horizontally and vertically to fill every pixel of the cell.
- Fill Width: The image scales to perfectly match the width of the cell. If the image is tall, the top and bottom will get masked off.
- Fill Height: The image scales to perfectly match the height of the cell. If the image is wide, the left and right edges will get masked off.
- Scale Image: Unlocks a slider allowing you to manually zoom the image in or out within the cell boundaries.
Borders
Section titled “Borders”Image borders operate independently from the cell gridlines. While you can apply borders to the data cell itself using the Border & Padding tab, the Image Border wraps tightly around the content boundary of the image itself.
If your image is set to “Fit Proportionally,” you will notice the image border dynamically snaps to the edges of the photo, rather than the edges of the schedule cell.
Effects (FX)
Section titled “Effects (FX)”To make your architectural schedules visually stand out, Vellum provides hardware-accelerated visual effects.
Clicking any of the effect icons toggles the effect ON, indicated by the thick bar beneath the icon. Clicking the icon while it is active will reveal a sub-panel allowing you to precisely tune the parameters. You can have multiple effects active at the same time.
- Drop Shadow: Adds a directional, soft shadow behind the image bounds to pull it off the page.
- Reflection: Casts a beautiful, fading glassy reflection below the image.
- Glow: Emits a colored, omnidirectional light from the edges of the image.
- Soft Edges: Inwardly feathers the edges of the image so it blends seamlessly into the cell background.
- Bevel: Applies 3D highlighting and shadowing to the inner edges, giving the image a physical “button-like” depth.